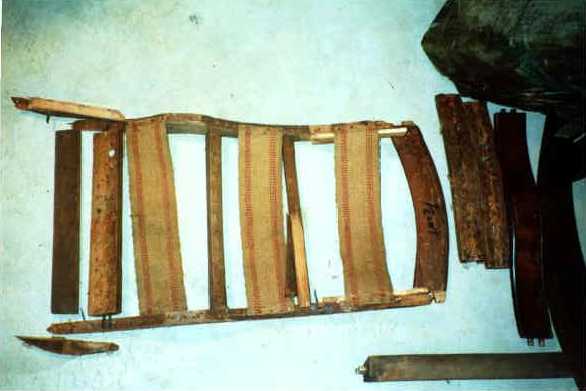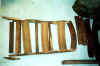
This is what my wife pulled out of our neighbor's trash one night. It's what
was
left over from an 1874 rocking chair they bought in NYC at an antique store. My wife saw potential
and I saw a challenging project, though at first I have to say I wasn't excited
about making room in the basement for junk. The rest is history.....
|
|
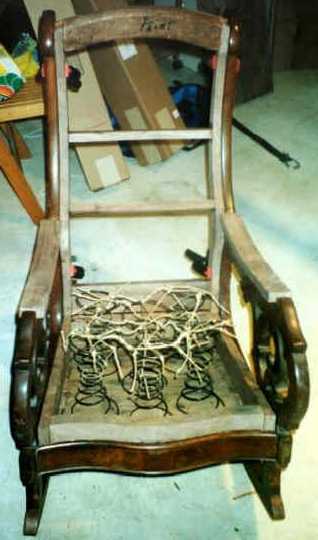
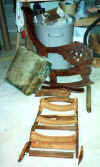 This second picture shows the sides of the rocker; it was a very nice
piece in its day as you can tell. This second picture shows the sides of the rocker; it was a very nice
piece in its day as you can tell.
|
|
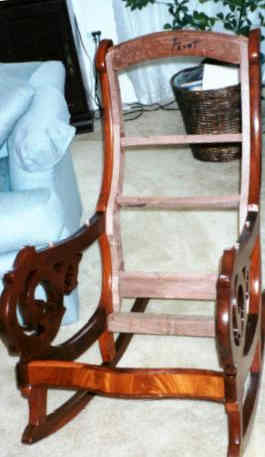
 This third picture
to the right was taken after I rebuilt the inner frame and spring seat. As the
original inner frame was in such poor shape, it was necessary to reconstruct one
so as to actually be able to use the chair. I did reuse the very top piece which
was in good shape, as well as the panel that the original springs are attached
to. On the bottom is written the date. I used some spare walnut for the replacement
parts. It'll seat a very heavy linebacker without concern. I do regret not
rounding the top edges of the armrests; perhaps I'll take care of that someday. This third picture
to the right was taken after I rebuilt the inner frame and spring seat. As the
original inner frame was in such poor shape, it was necessary to reconstruct one
so as to actually be able to use the chair. I did reuse the very top piece which
was in good shape, as well as the panel that the original springs are attached
to. On the bottom is written the date. I used some spare walnut for the replacement
parts. It'll seat a very heavy linebacker without concern. I do regret not
rounding the top edges of the armrests; perhaps I'll take care of that someday.
|
|
 This
picture on the left shows the refinished chair, minus upholstery. I put on several
coats of blonde shellac and also did some toning on the front piece for a better color
blend. In addition, one of the sides' ornate projections had
broken off some time ago, so I had to fabricate a replacement and do a near-invisible repair on one of the sides.
There were also a couple of holes that I filled with some very small patches. Notice the very nice veneer in the
front. This
picture on the left shows the refinished chair, minus upholstery. I put on several
coats of blonde shellac and also did some toning on the front piece for a better color
blend. In addition, one of the sides' ornate projections had
broken off some time ago, so I had to fabricate a replacement and do a near-invisible repair on one of the sides.
There were also a couple of holes that I filled with some very small patches. Notice the very nice veneer in the
front.
|
|
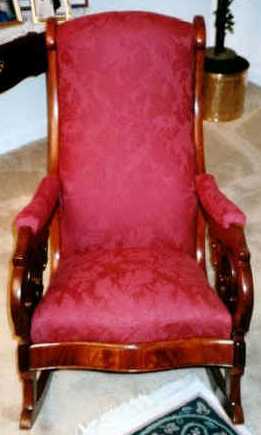
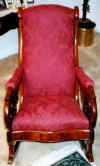 This last picture shows the finished chair. The upholsterer was so excited
about seeing what it would look like with upholstery, that he did the job in just a
couple of days instead of the original quote of 4-6 weeks. It makes a nice
addition to our living room. This last picture shows the finished chair. The upholsterer was so excited
about seeing what it would look like with upholstery, that he did the job in just a
couple of days instead of the original quote of 4-6 weeks. It makes a nice
addition to our living room.
|